

Making seamless laser patterns with the Seamless Pattern Generator
Difficulty: easy. Time: 10 minutes to design, cut or engrave time depends on density. Methods: laser cutting and engraving, CNC, print and cut.
Most pattern libraries are built for web backgrounds, so they hand you a tile at whatever size the browser felt like and leave you to guess how it behaves on a machine. This tool starts from the material instead: you set the width of one repeat in millimetres or inches, and spacing, band width and the sheet all follow from that number.
The other half of the job is knowing what a pattern does when you cut it. Every filled pattern in the library has been analysed ahead of time, so the tool can tell you whether the sheet stays in one piece, whether it needs an uncut border to hold together, or whether cutting it would drop loose pieces into the machine.
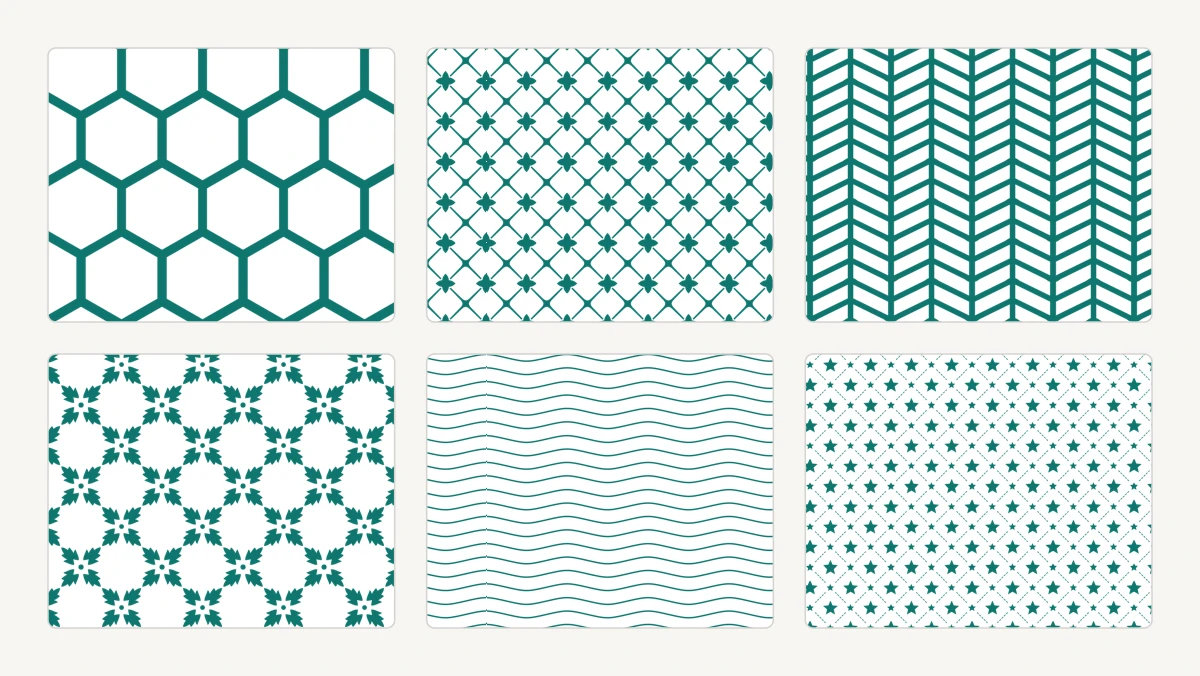
What You'll Need
- Laser: 3 mm laser-grade plywood or acrylic for cut-through panels, or any engravable stock for surface patterns
- Print and cut: an inkjet or laser printer plus a cutting machine that reads a magenta CutContour layer
- CNC: sheet stock and a small end mill, since a fine pattern is only as sharp as your bit diameter
- Scrap offcuts for a test tile, which is always cheaper than finding out on the full sheet
Step 1 - Pick a pattern
Open the Fill Pattern select and browse the library. Filter by category (hexagons, scales, floral, cultural, holiday and more), search by name, or filter by whether a pattern can be cut through. Line-work patterns are drawn as open strokes and are score-ready as they stand; filled patterns are closed shapes, so they can be engraved as areas or cut out.
Step 2 - Set the units and the repeat
- Switch Units to millimetres or inches first. Every length in the panel follows that choice.
- Tile size is the real width of one repeat on the material. It is the master control: spacing and band width limits scale with it, and the tile count under the slider tells you how many repeats land on the sheet.
- Angle rotates the whole lattice rather than each tile, so the repeat stays seam-free at any angle.
- Horizontal and vertical spacing open the tiles apart where the pattern supports it, and shift across and shift down nudge the lattice so a motif lands where you want it.
- Multi-band patterns get a rows per repeat control that drops whole bands out of the tile for a shorter repeat.
Step 3 - Choose the operation
Cut and score follow the path as a single line, so they carry no width and there is no width control. Engrave needs a closed area, so a filled pattern engraves the inside of each shape, and line work is outlined into a real closed band at the width you set rather than exported as a centre line with a fat stroke. Patterns with several colour layers upstream keep those layers here, so one pass can cut while another engraves.
- Cuts as-is means the sheet survives being cut through in one piece.
- Needs a border means it holds together only if you leave an uncut margin around it, so set a border margin before you cut.
- Engrave only means cutting would free interior pieces that drop into the machine.
- The note also tells you what percentage of the material a cut would remove, which is a good sanity check on how fragile the result will be.
Step 4 - Size the sheet
Set the sheet width and height to the piece you are making. The pattern is always trimmed to the border margin as real geometry rather than an SVG clip, because laser software ignores clipping and would happily cut every path that runs off the edge. Turn on cut the sheet outline if you want the panel edge cut too.
Step 5 - Export
Leave the file type on Laser for an SVG coloured by operation, ready for LightBurn and friends. Switch to Print & cut to choose the artwork and background colours and add a magenta CutContour outline. Or press Open in Design Editor to drop the pattern straight onto a canvas with text, shapes and your own artwork.
Choose Your Build Method
Engraving a surface pattern
- Start with a tile size around 20 to 40 mm. Fine tiles turn into a grey smudge on wood once the kerf overlaps.
- Filled patterns engrave as areas, which is slow but rich. Line patterns engrave as closed bands at the width you set, which is much faster on a large panel than a solid fill.
- Run one test tile at your chosen size before committing the sheet: contrast on plywood varies wildly between brands.
- Mask acrylic before engraving to keep the smoke residue off the surface between motifs.
Cutting a pattern through
- Only cut patterns the tool marks as cuts as-is or needs a border. Anything marked engrave only will drop pieces into the bed.
- For needs a border, set a border margin of at least 5 mm and turn on the sheet outline so the frame is cut last.
- Order the job so the interior pattern cuts before the outline, otherwise the panel is free to shift while the fine work is still running.
- Watch the open area percentage. Above roughly half the material removed, a 3 mm panel gets floppy and wants a backer.
Make It Yours
- Engrave a scales or seigaiha pattern across the back of a phone stand or the lid of a box for texture that costs nothing but time.
- Cut a needs-a-border pattern in 3 mm ply, mount it on standoffs, and let raking light throw the shadow onto the wall.
- Use the Design Editor handoff to clip a pattern inside a letter, a monogram or a map outline.
- Print and cut a floral tile as sticker sheets or gift wrap, then cut a matching engraved tag from the same pattern.
- Rotate the same tile by 45 degrees on a second panel: it reads as a different design entirely.
- Layer two patterns from the same category, one engraved and one cut, on stacked sheets in contrasting colours.
- Set a large tile size and a heavy band width to turn a fine lace pattern into a bold graphic border.
Keep up with MyLaserTools.
Email me about new tools, product updates, tutorials, and occasional MyLaserTools offers. Unsubscribe at any time.
© 2026 MyLaserTools.com. All rights reserved.