

Making a anniversary ornament with the Anniversary Ornament Generator
Difficulty: easy. Time: 10 minutes design, 15-30 minutes making. Best methods: engraved/cut wood or layered acrylic, multicolor 3D printing.
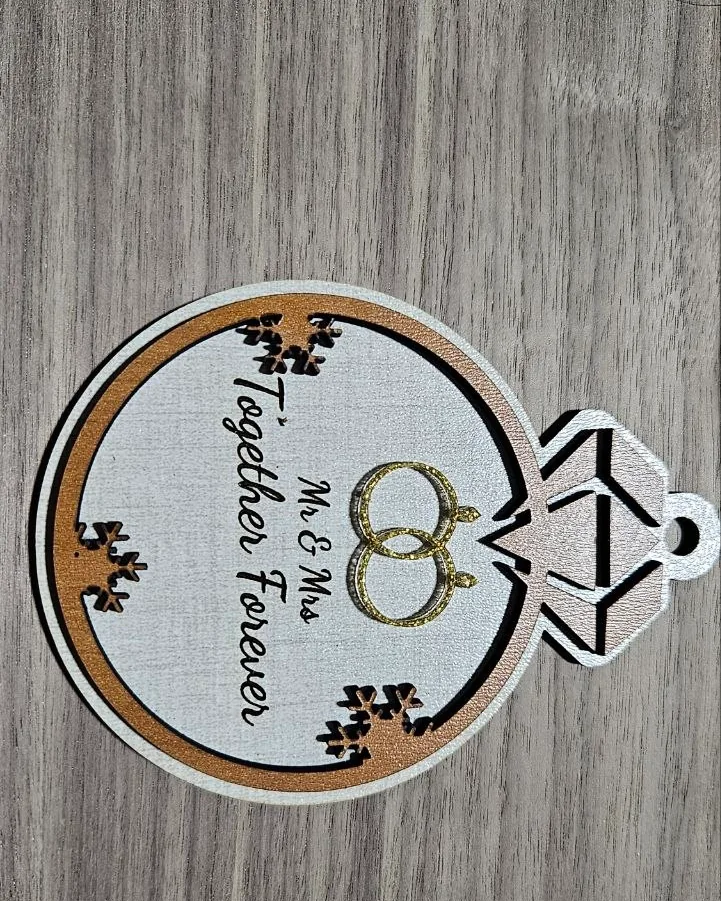
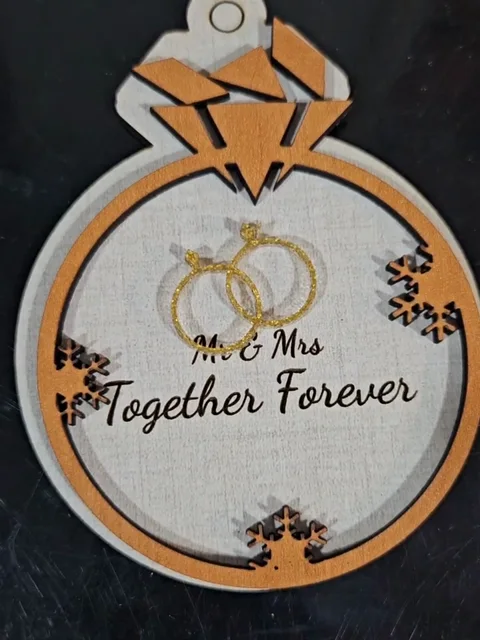
A personalized ornament built around wedding rings or a diamond ring. Type a Name and a Message (press Enter for each new line), each with its own font, then pick a Symbol to sit above the text. Choose your Ornament Shape, set the Border, and pick Single Layer, Two Layer, or Three Layer: everything inside scales to stay within the shape.

What you need
- Laser cutting: a light face such as TruFlat linen plywood over a warm TruFlat cherry plywood backplate, or contrasting acrylic for a layered build
- Accents: glitter acrylic gold for the rings or symbol
- Assembly: 3M 467MP adhesive tape or CA glue for layered designs
- 3D printing: any FDM printer, with a color swap for the front layer
- Finishing: twine or ribbon for hanging
1. Shape and text
Pick the Ornament Shape (wedding rings or a diamond ring), then enter the Name (e.g. "Together Forever") and a Message (e.g. "Mr & Mrs"). Each line of the message is centered, and the name and message can use different fonts.
2. Symbol and frame
- Choose a Symbol (rings, a diamond ring, or a heart symbol) to sit above the text, or clear it to let the text fill the shape.
- Use Border Size to set the frame; the symbol and text shrink automatically so nothing crosses the edge.
- Nudge Text Size and Move X/Y to fine-tune the layout.
3. Layers and export
Single Layer engraves the text and cuts the shape from one piece. Two Layer raises the front (symbol + text) on a solid backplate; Three Layer adds a separate text layer. Download the SVG for laser cutting, or set Extrusion Depth and export STL/3MF for printing.
Choose your build method
Laser Cutting
Laser cutting
- Single-layer plywood is the quickest: blue paths engrave the text and symbol, red paths cut the shape.
- For a layered keepsake, cut the backplate and the front from contrasting acrylic and bond with 3M tape.
- Keep the ornament around 80-100 mm so the message stays readable.
- Thread twine through the hanger hole to hang it.
3D Printing
3D printing
- Export the 3MF and print flat: the backplate is one solid piece that holds the design.
- For a two-layer print, swap filament at the front layer so the symbol and lettering pop.
- Light infill is plenty: it only ever hangs from twine.
Next steps and project ideas
- Add the wedding date or anniversary year on a message line.
- Use both names (e.g. "Anna & Sam").
- Pick the rings symbol for a classic wedding look.
- Make one each anniversary to build a collection.
Take the design into your software
Was this guide helpful?
More in Ornaments


Keep up with MyLaserTools.
Email me about new tools, product updates, tutorials, and occasional MyLaserTools offers. Unsubscribe at any time.
© 2026 MyLaserTools.com. All rights reserved.