Building a basin in one piece with the Land and Sea Relief Map preset
Difficulty: Medium. Time: a half day with glue-up. Best methods, in order: laser cutting (the layered stack shines), 3D printing.
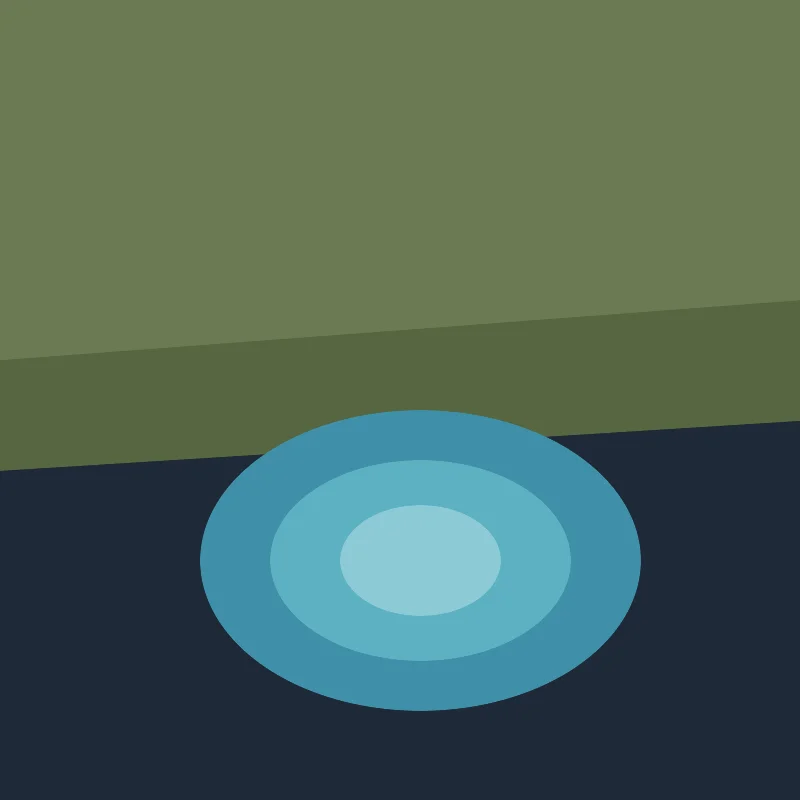
This preset shows a complete basin in one piece. Stacked elevation contours build up the mountains around the water, and at the shoreline the relief reverses - layered bathymetry depth bands step down into the lake bed, all over a solid backplate. The land relief and the lake depth meet exactly at the water line, so you get terrain you can read with a finger: ridges rising, water sinking. It loads on Lake Tahoe, USA, in a square frame.
Lake Tahoe is an ideal match: a deep alpine lake ringed by steep mountains, so both halves of the relief have something dramatic to say. The surrounding peaks give the contour stack real height, and the lake's depth gives the teal bands a long, satisfying drop.
What You'll Need
Laser cutting
- Several sheets of 2-3 mm laser-grade plywood or MDF - one per contour tier and one per depth band - plus a backplate sheet
- Optional: teal-tinted acrylic for the lake depth bands
- Laser cutter, glue or 3M tape, weights
3D printing
- FDM printer; PLA - single neutral colour, or multicolour via 3MF for the teal depth ramp
- 3MF-capable slicer
Step 1 - Start from the preset
Open the Land and Sea Relief Map preset. It loads on Lake Tahoe at zoom ~10.2 in a square (1:1) frame, which holds the whole lake plus the ring of mountains around it. When you move it, look for a basin where steep terrain meets deep water: a single lake or fjord in frame works best, so the contour stack and the depth bands both have room to read. If you change location, check the preview and retune the elevation and depth values for your basin (see Step 2).
Step 2 - Tune the layers
Top to bottom, three layer groups stack into one basin:
- Topography - an all-bands elevation contour stack for the mountains around the lake. Each band becomes a raised tier in the stack, so the terrain steps up the higher it climbs. If your basin sits at a different altitude than Tahoe's high alpine ring, retune the band values to bracket your surrounding peaks, and delete any empty bands.
- Lake depth - a bathymetry group with the water cut as holes, so each band is a plate with the deeper water removed and the lake bed steps down toward the backplate. The bands run from a deep teal
#2F6F8Fat the bottom band up to a pale#C0E4E8at the shallowest band. Depth comes from a modeled approximation by default, with real charted surveys for a growing set of major water bodies, so you can pick Simplified or Advanced when you add the layer. Coverage varies; if the bands look flat for your lake, pick a larger or better-surveyed basin nearby. - Backplate -
#1f2937solid slate, the floor the whole basin sits on and the lake's deepest point.
The land relief and the lake depth are tuned to meet at the shoreline, so the contour tiers and the depth bands line up at the water's edge. Keep the water cut as holes on the depth group so the bands export as stepped plates rather than solid water blobs.
Step 3 - Export
- Laser: per-layer SVG ZIP - one plate per contour tier and one per depth band, plus the backplate. Run small-polygon cleanup, since a full basin at this zoom produces slivers. Keep the inversion toggle on so the depth bands export as stepped plates.
- 3D printing: 3MF carries the teal depth ramp and terrain colours as a single merged relief; STL gives a one-material model you can wash with colour afterwards.
Choose Your Build Method
Laser cutting
- Cut the Backplate first - it carries the whole basin, so consider a deep teal or dark blue here instead of slate for the lake floor.
- Cut the Lake depth band plates, deepest first. Each is a full plate with a successively smaller hole - label them, they look alike.
- Cut the Topography contour plates, lowest tier up to the highest peak ring.
- Dry-fit the full stack: backplate, then the depth bands deepest to shallowest, then the terrain tiers lowest to highest, checking that the bands and tiers line up at the shoreline.
- Glue bottom-up, weight flat, and sand the outer edges flush. 3M tape (300LSE for ply, 467 or 468 for acrylic bands) bonds the stack with no squeeze-out.
Make It Yours
- Strong candidates: deep lakes and crater basins like Crater Lake, Lake Geneva and Lake Como, plus the Norwegian fjords - any place where steep land drops straight into deep water.
- Retune the Topography bands to your basin's altitude - high and tight for an alpine crater, low and broad for a coastal fjord.
- Swap the teal depth ramp for icy blues (
#1E3A5Fdeep to#D6ECF5shallow) for a colder northern-lake feel. - Cut the depth bands from successively darker teal acrylics and skip painting entirely, letting the colour itself read the depth.
- Add or remove layers to control the look: more contour tiers and depth bands give a finer, more sculptural relief, while fewer give a bolder, graphic step.
- Mark the family cabin, a favourite cove or a summit with heart icons on the top tier.
- 3MF plus clear PLA for the lake depth bands gives a genuinely watery basin you can almost see into.
New free tools, every month.
New laser cutting tools, what's coming next, and features we're building right now. Only MyLaserTools.com news. No spam, ever.
© 2026 MyLaserTools.com. All rights reserved.