Making a golf course map with the Golf Course Map preset
Difficulty: Easy. Time: under an hour of design time, then your printer's run. Best method: full-colour / UV print (it's a course-palette poster design). A laser version works as a single engraved tonal tile.
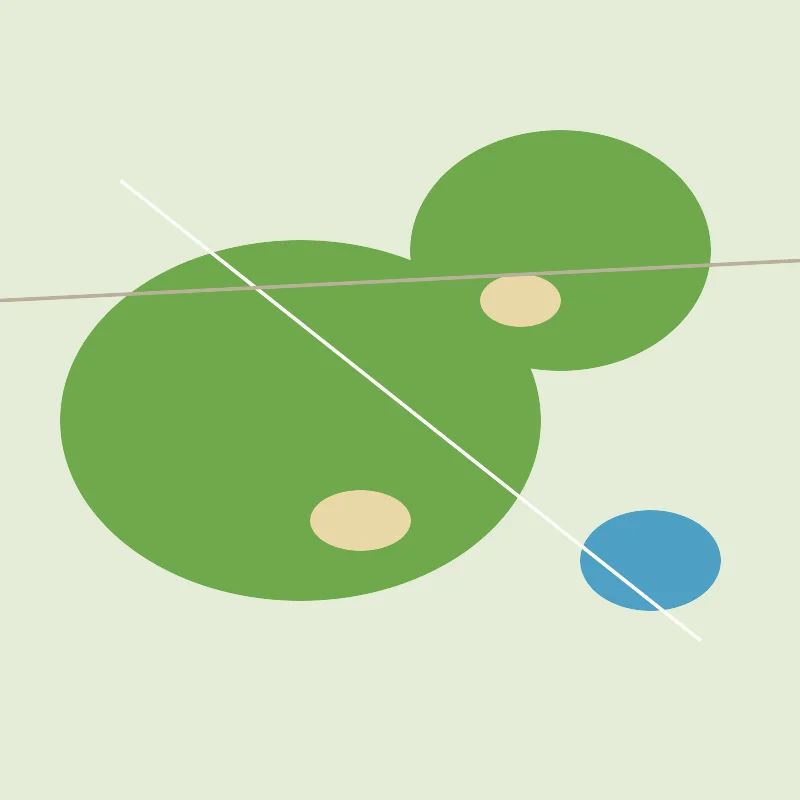
This is a poster-first preset for golfers. The Golf Course Map draws the Old Course at St Andrews in a true course palette - bright green fairways set against a lighter rough, sandy bunkers, blue sea and water hazards, and near-white cart paths threading between the holes. Everything is solid colour fill, so the whole design rides on that crisp, fresh-cut-grass look. It's made for full-colour and UV prints, framed clubhouse pieces and golfer gifts rather than for cutting into layers.
St Andrews is the perfect match: as the home of golf, the Old Course gives the palette its most iconic shapes - the wide double fairways, the Swilcan Burn and the famous links edge meeting the sea anchor the whole frame.
What You'll Need
UV print / sublimation
- The exported high-res PNG (4096 px)
- UV flatbed printer, or a sublimation setup with a coated blank (wood, hardboard, aluminium)
- Light wood or white blanks let the green fairways and blue water stay vivid
Poster / paper print
- The exported high-res PNG sent to a photo lab or printed on matte or textured art paper
- A frame; clean wood or dark framing suits a clubhouse wall
Laser (optional, single tile)
- A light-toned wood or coated tile that engraves with contrast
- Any diode or CO2 laser
- Note: the course palette won't survive a laser - use it for a monochrome engraved version
Step 1 - Start from the preset
Open the Golf Course Map preset. It opens on the Old Course at St Andrews at zoom 14.4 in a square (1:1) frame, which frames the full links from the clubhouse out to the turn and back along the sea. Pan so the fairways and the famous edge against the water sit centred; that green-and-blue meeting line is what gives the design its anchor. Zoom in a touch for a tighter read of individual holes, or out slightly to take in more of the town and coast around the course.
Step 2 - Tune the layers
The preset is a single layer group, "Golf course", and every feature is Solid fill or Solid line - there are no cut or score layers, so the course palette is your only dial:
- Land background - Solid fill, light rough green
#E4ECD6. The pale rough that the whole course sits on. It sets the fresh, grassy base tone. - Water (sea and hazards) - Solid fill, blue
#4DA0C4. The sea along the links and the water hazards become a clean blue block - one of the boldest shapes in the frame. - Golf course fairways - Solid fill, fairway green
#6FA84B. The mown fairways stand out brighter than the rough, drawing the eye down each hole. - Bunkers - Solid fill, sandy tan
#E9D7A6. The bunkers read as warm sand spots scattered through the green - a signature detail at St Andrews. - Primary roads - Solid line, warm grey
#B8B09A(width 2.5). The main streets around the course edge. - Streets - Solid line, light grey
#C9C2B0(width 1.5). The finer town streets framing the links. - Cart paths - Solid line, near-white
#FBFCF8(width 2). The pale paths winding between holes; they add the crisp detail that reads as a real course map.
The palette is balanced to stay fresh and true to a real course. If you recolour one layer, keep the greens, sand and blue in their natural family so the whole map still reads as a fairway rather than turning into an abstract.
Step 3 - Export
- UV / sublimation: export the high-res PNG (4096 px). Keep the Background toggle on so the rough green base prints as a solid field, or turn it off for a transparent background to let a natural wood blank show through behind the course.
- Poster: same high-res PNG, sized to your paper. The square 1:1 frame suits a 12x12 or 20x20 print for a clubhouse wall.
- Laser (optional): export the per-layer SVG ZIP, ignore the colours, and engrave the fairways, bunkers and paths as a single tonal pass.
Choose Your Build Method
UV print / sublimation
- Export the high-res PNG. Turn the Background off and print onto a natural wood blank to let the grain show behind the course, or leave it on for a full rough-green field.
- For sublimation, mirror the image and press onto a wood, hardboard, or aluminium blank per its spec. White blanks keep the green and blue at their brightest.
- On a UV flatbed, print straight onto wood, acrylic, or hardboard. A white underbase keeps the fairway green and sea blue opaque on darker stock.
- A matte or satin finish keeps the greens looking natural rather than glossy and artificial.
Poster / paper print
- Send the high-res PNG to a photo lab or print on matte or lightly textured art paper - texture suits the natural grass feel.
- Frame in clean wood or a dark surround to suit a clubhouse or study wall.
- The 1:1 square crop is set for you - keep it square, or re-export after switching the aspect ratio for a portrait format that follows the links down to the sea.
Make It Yours
- Map the course that matters to you: Pebble Beach, Augusta National, St Andrews, Pinehurst or your home club all suit this palette - a course you actually played makes the best keepsake.
- Print on natural wood with the background off so the grain shows behind the fairways for a warmer, more rustic course piece.
- Deepen the fairway green toward a richer turf
#5A8F3Cfor a bolder, more saturated look. - Cool the water from this blue to a deeper sea
#2F7FA8for coastal links courses that meet the ocean. - Add the course name, hole count and coordinates under the map for a complete commemorative-poster look.
- Print large (20x20 square) framed for the clubhouse or pro shop, or small as a set of golfer-gift coasters.
- Turn down the town Streets layers for a cleaner version that leans entirely on the fairways, bunkers and cart paths.
New free tools, every month.
New laser cutting tools, what's coming next, and features we're building right now. Only MyLaserTools.com news. No spam, ever.
© 2026 MyLaserTools.com. All rights reserved.