

Building a laser cut birdhouse with the Birdhouse Generator
Difficulty: easy. Time: 15 minutes to set up, under an hour to cut and glue. Best methods: laser cut plywood, or 3D printed parts.
A nest box only gets used if it fits the bird. A chickadee wants a 102 mm floor and a 28.6 mm hole about 150 mm up. A bluebird wants a 127 mm floor and a 38.1 mm hole, which a house sparrow can also get through. The generator starts from the bird, so the numbers that matter are right before you change anything.
The box itself is six panels: floor, front, back, two sides and a roof in two halves. Every wall joint is a finger joint sized from your measured sheet thickness, and the roof halves drop over tabs on the front and back walls.
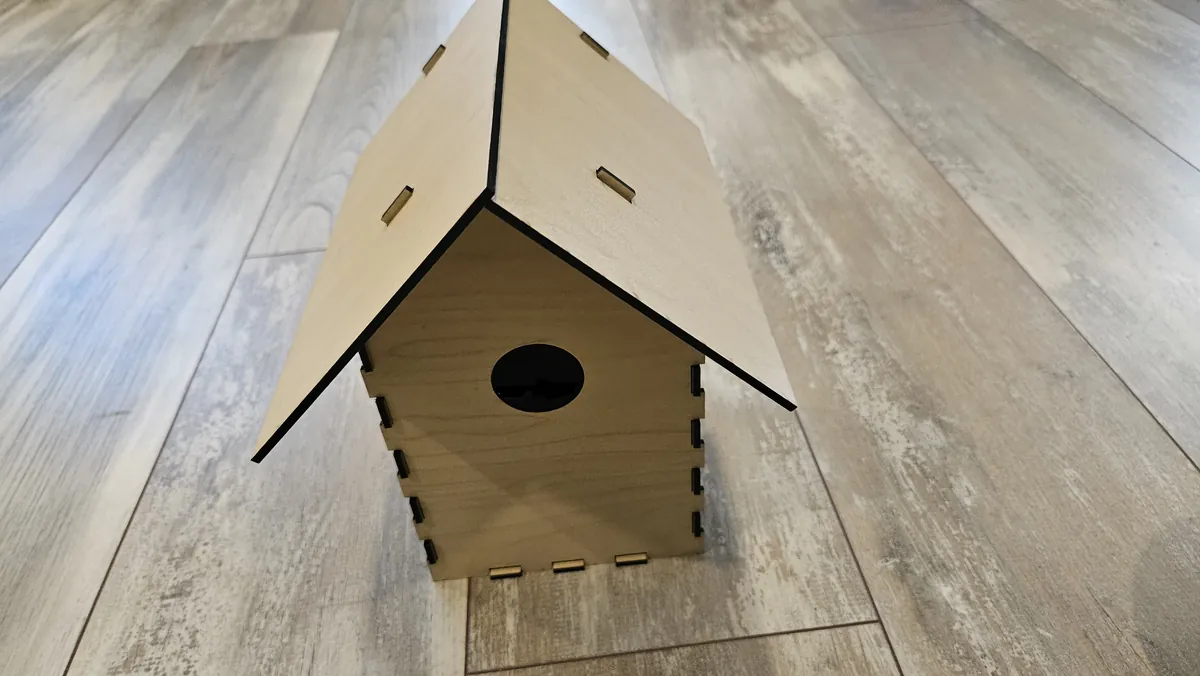
What You'll Need
- Indoor or sheltered box: 3 mm TruFlat maple plywood. It stays flat on the bed, so the finger joints close tight.
- Box that lives in the rain: 6 mm exterior plywood or thicker. Thin plywood warps once it gets wet.
- Wood glue, or exterior glue for an outdoor box
- A screw or a rubber band to hold one roof half shut
- Calipers to measure your sheet
Step 1 - Pick the bird
Open Bird and choose from the list. Each entry shows its hole size, and the hint under it says how high to hang the box. Robins and phoebes get an Open front instead of a hole. If you change any size afterwards the bird switches to Custom size, and picking a bird again resets everything.
Step 2 - Check the entrance
- Hole diameter: under 32 mm keeps house sparrows out, under 40 mm keeps starlings out.
- Hole height above floor is measured to the centre of the hole. A deep drop keeps cats and raccoons from reaching the nest, so leave it as high as the box allows.
- If the height does not fit the box, the generator moves the hole down and tells you where it ended up.
Step 3 - Set the roof and the details
Roof pitch at 45° reads as a classic cottage. Front overhang of 50 to 100 mm keeps rain off the hole. Under Bird-friendly details, leave Vent holes and Drain holes on for any box that goes outside, and turn on Climbing grooves so fledglings can get out. Add a Mounting plank if the box goes on a post or a fence.
Step 4 - Measure and export
Open Material and joints and type in the thickness you measured with calipers, not the number on the label. Finger width sets how many fingers each joint gets. Then download the SVG for the laser, or switch to the 3D printing options for STL or 3MF.
Choose Your Build Method
Cut and assemble
- Run the engrave pass first if you have climbing grooves or a roof or wall texture, then the cut pass.
- Dry fit the floor, front, back and sides. The joints should push together by hand.
- If you engraved climbing grooves, turn the front panel over before gluing so they end up inside.
- Glue the walls to the floor and to each other.
- Drop the roof halves over the tabs. Glue one half and hold the other with a screw or a rubber band so you can open the box each winter to clean it out.
Make It Yours
- Engrave Shingles or Fish scale on the roof for a box that sits on a shelf.
- Paint the outside only. Leave the inside bare wood for the birds.
- Hang it at the height the bird's hint gives you, facing away from strong afternoon sun.
Keep up with MyLaserTools.
Email me about new tools, product updates, tutorials, and occasional MyLaserTools offers. Unsubscribe at any time.
© 2026 MyLaserTools.com. All rights reserved.