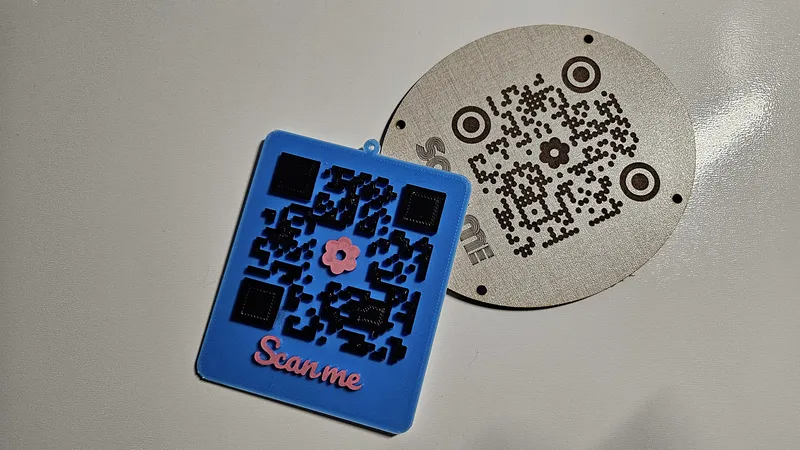
Making scannable QR signs with the QR Code Sign Generator
Difficulty: easy. Time: 10 minutes design, 15-30 minutes making. Best methods: laser engraving on two-tone materials, UV printing from PNG, 3D printing the raised-code plaque.
QR codes fail in the real world for two reasons: bad contrast and broken quiet zones. This tool guards both while letting you style everything else. Pick the code Type - URL, WiFi (with SSID, password, and WPA/WEP security), Email, Phone, SMS, Location, or Text - then style the modules (Square, Dots, Rounded, Extra Rounded), the corner eyes, and an optional Center Logo. Add a Text Label above or below, wrap everything in a Base Plate with margin, corner radius, and a hanger or mounting holes, and pick your Error Correction level. The live preview is a real code, so scan it with your phone before you ever cut.
What You'll Need
- Laser: two-tone acrylic or anodized aluminum for guaranteed contrast, or laser-grade plywood for engraved cafe signs
- Printing: any printer for the PNG export; UV flatbed if you print directly on acrylic
- 3D printing: dual-color capable printer or one filament swap
- Mounting: 3M 467/468 tape for walls, or standoff spacers through the mounting holes for a premium install
Step 1 - Enter the payload
Pick the type and fill in the fields - for Wi-Fi that is Network Name (SSID), Password, and Security; for links it is just the URL. Shorter payloads make coarser, more scannable codes, so use a short URL where you can. Set Error Correction to Medium or higher; go High (25%) if you add a center logo, because the logo eats data.
Step 2 - Style the plaque
- Choose a Module Style and Corner Style - Rounded dots soften the look without hurting scans.
- Add a Text Label (Scan for Wi-Fi, Leave us a review) positioned Above or Below, with its own font.
- Set QR Size to at least 40 mm for arm's-length scanning, larger for across-the-room signs.
- Configure the Base Plate: Margin, Corner Radius, Extra Width/Height for breathing room, and Holes - Hanger for a cord, Mounting for screws or standoffs.
- Use Engrave Mode to flip which part is dark, matching whether your engrave darkens or lightens the material.
Step 3 - Scan, then export
Point your phone camera at the on-screen preview first - if it does not scan there, it will not scan in wood. Then export: SVG (vector) for the laser, PNG (raster) for printing, or STL with QR Extrusion Depth and Base Plate Thickness for 3D printing.
Choose Your Build Method
Laser engraving
- Highest-reliability combo: black-over-white two-tone acrylic or anodized aluminum, engraving the dark modules to reveal light beneath (or the reverse with Engrave Mode flipped).
- On plywood, engrave deep enough for a rich dark burn; weak gray engraves are the number one cause of failed scans.
- Cut the plate outline and holes last, then scan the finished piece in both bright and dim light before installing.
- Mount with screws, standoffs, or tape - by the till, on the patio table, beside the guest bed.
Make It Yours
- Guest room Wi-Fi plaque with a Welcome label - the single most appreciated Airbnb upgrade.
- Review sign for your market booth linking straight to your Google or Etsy review page.
- Menu QR table tents: engrave the restaurant logo as the center logo at High error correction.
- Location-type code on a trailhead or cabin sign pointing to exact coordinates.
- Pet tag with an SMS payload: scanning texts your phone that someone found your dog.
- Wedding signs linking to the photo upload album, cut in the wedding palette.
- Business cards with a vCard-style text payload, printed as a thin 3D plaque people keep.
New free tools, every month.
New laser cutting tools, what's coming next, and features we're building right now. Only MyLaserTools.com news. No spam, ever.
© 2026 MyLaserTools.com. All rights reserved.