3D printing a raised trail relief with the Raised Trail Relief preset
Difficulty: Medium. Time: a 3–5 hour print plus a couple of filament swaps. Intended method: 3D printing (FDM) - export 3MF for the multicolor relief, or STL for a single color you paint. It also laser-cuts if you want a flat poster version.
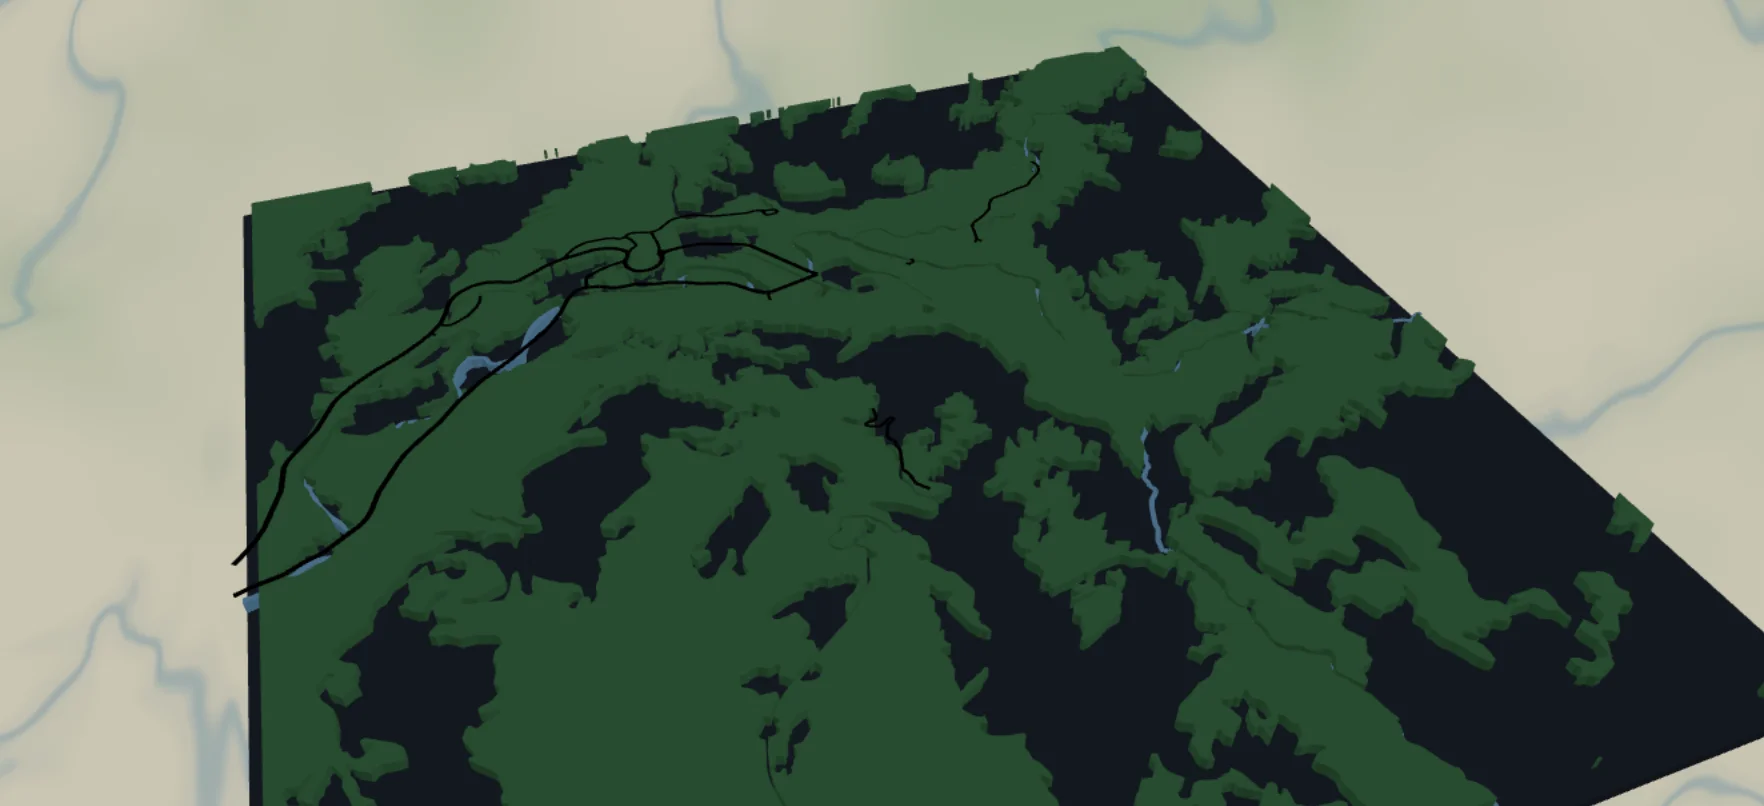
This is the 3D-print sibling of the Forest and Trails map. Instead of cutting and engraving flat plates, you print a single stacked relief: a dark backplate, solid forest-green and blue-water bodies, and the trails and park roads standing proud on top as raised ridges. It loads on Zion National Park and suits any park, trail network, or favorite hiking area.
The trails and rivers are deliberately fattened (width 4) compared to the laser preset. On a laser those fine paths are engraved as Score lines, but a scored centerline has no width and nothing for a printer to lay down - so here every feature is a Solid body. The forest and water print as broad filled bodies, and the trails ride on top as printable ridges.
What You'll Need
3D printing (intended)
- Any FDM printer; PLA or PETG
- Filament in up to 4 colors for the full relief: green (forest), blue (water), black (trails/roads), and dark slate (backplate) - or a single color if you'll paint
- A slicer that accepts 3MF (Bambu Studio, PrusaSlicer, OrcaSlicer)
Optional flat laser version
- 3 mm laser-grade plywood for the forest, a dark backplate sheet, and optional blue acrylic for water
- Laser cutter, glue, weights
Step 1 - Start from the preset
Open the Raised Trail Relief preset. It loads on Zion National Park at zoom 12.6 - a whole valley with its trail web in a square frame. Search your park and stay around zoom 12–13.5: wide enough to catch the trail network, close enough that individual paths separate as distinct ridges. Frame so a river or lake anchors the composition; trails alone can read as scribbles.
Step 2 - Tune the layers
Five layers, top to bottom:
- Trails - Solid body,
roadsPathat width 4, black. The star of the preset: every hiking path in frame, raised as ridges. Width 4 keeps them thick enough to print; if the web is too dense, zoom in slightly rather than thickening further. - Park roads - Solid body,
roadsStreetat width 4, black. The drivable loop roads, also raised. - Forest - Solid body,
landcoverForestfilled#2E7D43. Big organic green shapes - the main body of the piece. - Water - Solid bodies: lakes/rivers filled
#4EA8DEpluswaterwayRiverribbons at width 4. - Backplate -
#1f2937dark slate, the physical bottom of the print; reads as granite/meadow wherever forest isn't.
The trails and roads ride on top of the forest and water bodies, so they stay legible as raised lines regardless of the color underneath - no need to recolor them for contrast the way the flat print version requires.
Step 3 - Export
- 3D printing (multicolor): export the 3MF - green forest, blue water, black trails/roads on the dark plate, all pre-stacked and ready to assign filaments.
- 3D printing (single color): export the STL to print in one filament and paint the layers by hand afterward.
- Small-polygon cleanup on - forest cover is full of sliver polygons too small to print, and dropping them cuts stringing and slicer headaches.
Choose Your Build Method
Print as a stacked relief
- Export the 3MF and open it in your slicer - the dark backplate, green forest, blue water, and black trails/roads come through pre-stacked as separate objects.
- Assign filaments: dark slate plate, green forest, blue water, black trails and roads. With an STL you print in one color and paint, or set manual filament-changes at the layer heights where the forest, water, and trail ridges begin.
- Print flat on the bed with the backplate down - no supports needed, since each body steps upward off the plate.
- 0.2 mm layer height works well; the trails and rivers stand proud as ridges over the broad forest body.
- Scale: keep it 180 mm+ across so the width-4 trail and river ridges survive cleanly. Below that the trails start to merge into the forest body.
- Don't want to print fine trails at all? Hide the Trails layer and print just forest, water, and backplate, then add the routes by hand with a paint pen.
Make It Yours
- Works anywhere trails cluster: Zion, Yosemite, Banff, your local state park or trail-running network.
- Highlight the hike: add a route layer over your exact line and print it in a bold contrasting filament.
- Autumn palette in the slicer: forest
#B5651D, water#3E6B8C, trails in cream. - Single-color print in natural PLA, then dry-brush the raised trails and rivers to make them pop.
- Topo mashup: add a couple of topography layers under the forest for raised valley walls.
- Mark the campsite or proposal spot with a heart icon at export so it prints as its own raised marker.
- Print at ornament scale, add a hanger hole, and batch a set of the parks someone has hiked.
New free tools, every month.
New laser cutting tools, what's coming next, and features we're building right now. Only MyLaserTools.com news. No spam, ever.
© 2026 MyLaserTools.com. All rights reserved.