Printing photo plaques with the Lithophane & Photo Relief Generator
Difficulty: easy to design, intermediate to print well. Time: 10 minutes of design, 2 to 6 hours of printing. Method: 3D printing only. Photos stay in your browser.
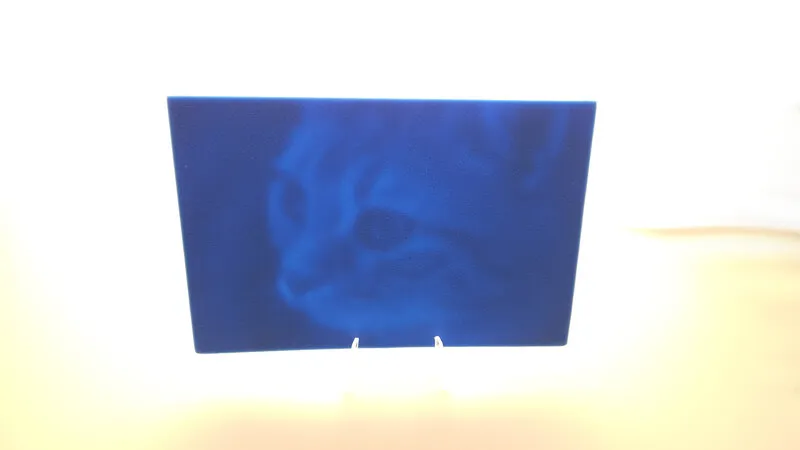
A lithophane looks like a blank white tile until light shines through it; then a full grayscale photograph appears, because thin areas glow bright and thick areas stay dark. The same math, flipped outward, makes a photo relief: brightness becomes physical height you can see in raking light and read with fingertips.
This tool does both from one upload, switching with the mode tabs at the top. Everything is computed locally in your browser, with a live 3D preview, and exports as STL or 3MF.
What You'll Need
- 3D printing: an FDM printer, white or natural PLA for lithophanes (any color works for reliefs), and a light source for backlighting: a window, an LED puck, or a cheap light box
Step 1 - Pick a mode and upload
Open the tool and choose Backlit Lithophane or Photo Relief from the tabs. Upload a photo; lithophanes love tonal range (portraits, landscapes, wedding shots), while reliefs favour bold shapes and strong subjects. The 3D preview updates as you tune.
Step 2 - Tune the depth map
- Width sets the plaque size; 100 to 150 mm prints overnight, larger earns more detail.
- In lithophane mode, Min Thickness (base) (around 0.6 to 0.8 mm) sets the brightest glow and Max Thickness (around 3 mm) the deepest shadow.
- In relief mode, Base Thickness is the backing plate and Relief Height how far the image stands proud; 2 to 4 mm reads well.
- Invert flips the mapping; lithophanes need dark-equals-thick, so use it if the preview looks like a negative.
- Gamma, Brightness, and Contrast shape the tones; Softening smooths pixel noise so the surface prints silky instead of gritty.
Step 3 - Export
Orbit the 3D preview to sanity-check the depth, then download the STL or 3MF. This is a 3D-only tool; there is no SVG because the image lives entirely in thickness.
Choose Your Build Method
Printing a lithophane
- Print vertically (standing on its long edge) if your printer is well-tuned; vertical lithophanes resolve XY detail rather than layer-height detail. Flat printing is more forgiving on wobbly machines.
- Use white or natural PLA, 100 percent infill, 0.12 mm layers, and slow speed; lithophanes punish ringing and under-extrusion.
- Avoid silk and dark filaments; they kill light transmission.
- Backlight evenly: LED puck, window, or light box. Point light sources create hot spots.
- Frame in a printed stand with a warm LED behind it for a finished night-light gift.
Printing a photo relief
- Print flat, base on the bed; the relief surface builds up in clean layers.
- Any opaque filament works; matte colors show relief shadows best.
- Swap to a second color partway up the relief for a duotone effect.
- Raise Softening if the surface looks pixel-stepped in the preview.
- Display under side lighting, where the raised image throws its strongest shadows.
Make It Yours
- Wedding-photo lithophane night light, the gift that gets people into 3D printing.
- Ultrasound lithophane for expecting parents; the tonal range is perfect for it.
- Memorial portrait lithophane in a window where morning light brings it to life.
- Tactile relief of a family photo for a blind or low-vision relative.
- Lithophane panels for a four-sided lamp: one photo per season.
- Pet relief plaque in matte filament with a name scored on a separate laser-cut base.
- Vacation landscape lithophane sized to a cheap LED light box from the hardware store.
- Christmas ornament lithophanes at 80 mm with a tree light tucked behind each.
New free tools, every month.
New laser cutting tools, what's coming next, and features we're building right now. Only MyLaserTools.com news. No spam, ever.
© 2026 MyLaserTools.com. All rights reserved.