Making frames with the Infinity Mirror & Shaker Box Generator
Difficulty: easy frame, medium electronics. Time: 30 minutes for the frame, 1-2 hours for a wired infinity mirror. Methods: laser cutting or 3D printing.
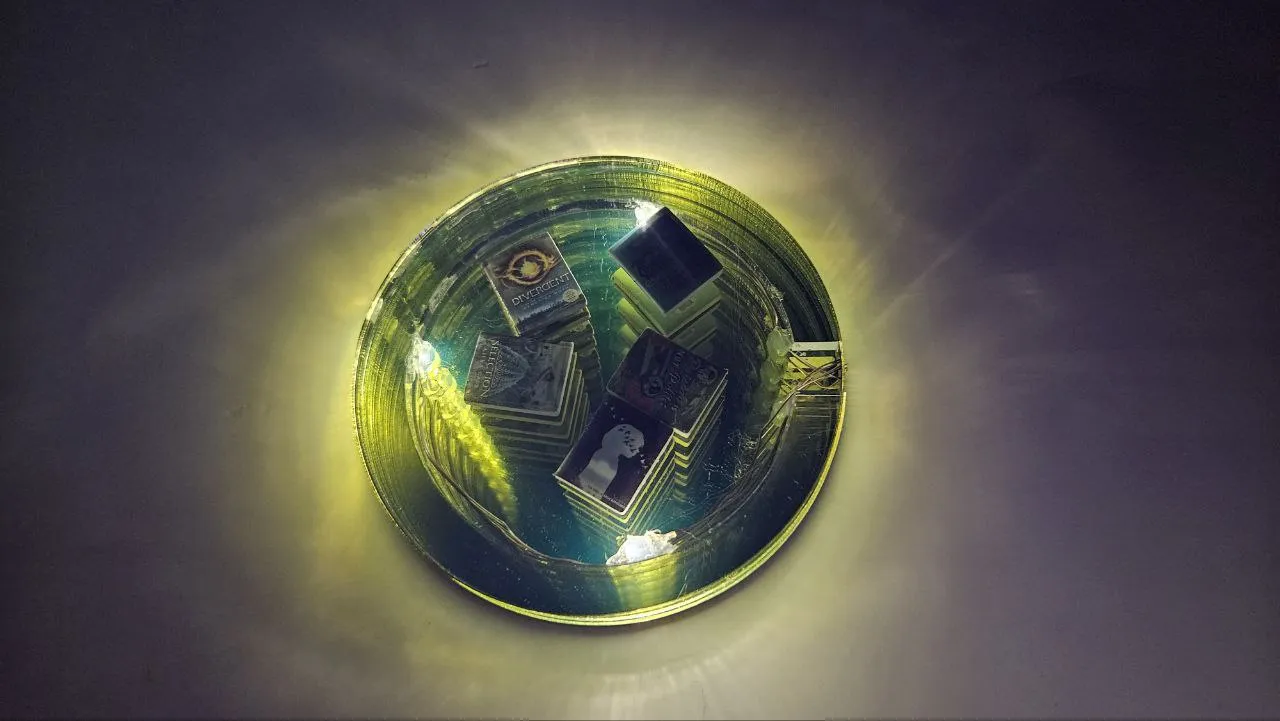
Two flat plates with matching openings and a spacer ring between them: that simple sandwich is the basis of two very different crowd-pleasers. Fill the gap with sequins or glitter and seal it with clear panels and you have a shaker. Put a mirror at the back, a one-way mirror at the front, and an LED strip inside the spacer and you have an infinity mirror, the endless tunnel of light that stops people mid-walk.
This generator produces all three parts perfectly matched in circle or square form, with the practical details included: a wire cutout in the spacer for the LED leads and an optional hanger hole for wall mounting.
What You'll Need
- Laser: 3 mm laser-grade plywood or acrylic for the plates and spacer; for an infinity mirror add a mirror acrylic back, a clear front, and one-way mirror film
- 3D printing: any FDM printer and one spool of filament for the frame parts
- An LED strip (60 LEDs/m or denser looks best) and a USB power lead for the infinity build
- Clear acrylic discs and your fill (sequins, micro stars, beads) for the shaker build
- 3M adhesive tape (467/468 for acrylic) to bond layers cleanly without glue squeeze-out
Step 1 - Pick shape and size
Open the tool and choose Circle or Square, then set the overall Size (50-300 mm) and the Frame Width, which is the border between the opening and the outer edge. A wider frame hides the LED strip better on infinity mirrors; a narrow frame maximizes the window on shakers.
Step 2 - Add the practical features
- Wire Cutout: enable it and set the Wire Cutout Width to pass your LED strip leads through the spacer ring. Skip it for shaker boxes.
- Hanger Hole: enable it and size the Hanger Hole Size for the screw or nail you plan to hang on.
- The spacer thickness comes from your material; stack two spacer rings if you want a deeper cavity for chunky shaker fill or more LED depth.
Step 3 - Export
Download SVG for the laser, or STL/3MF to print the frame parts. The SVG contains both plates and the spacer in one layout.
Choose Your Build Method
Infinity mirror build
- Cut both plates and the spacer from plywood or acrylic. Also cut a solid back disc from mirror acrylic and a front disc from clear acrylic, sized to the opening or the full frame.
- Apply one-way mirror film to the clear front disc (wet method, squeegee, patience).
- Stick the LED strip around the inside face of the spacer ring, LEDs pointing inward, and route the leads through the wire cutout.
- Stack the sandwich: back plate, mirror, spacer with LEDs, one-way front, front plate. Bond layers with 3M tape rather than glue near the optics.
- Power it on before final closing. Adjust the mirror gap parallelism if the tunnel bends; the effect depends on the two mirrors being dead parallel.
For a shaker box, the build is the same stack minus electronics: clear disc, spacer, fill, clear disc, with the plates clamping everything together.
Make It Yours
- Use an addressable LED strip (WS2812B) and a tiny controller for animated color chases down the tunnel.
- Make a sequin shaker name sign: shaker box up front, a vinyl or engraved name on the clear face.
- Square format with a wide frame makes a striking infinity coaster-sized desk toy.
- Build a wedding shaker with gold stars and the couple's date engraved on the front plate.
- Engrave a design on the front plate before assembly; backlit by the LEDs it glows at the rim.
- Gift idea: snow shaker with white glitter and a tiny laser-cut tree silhouette inside the cavity.
- Stack two spacers and double the LED rows for a deeper, brighter tunnel on large mirrors.
New free tools, every month.
New laser cutting tools, what's coming next, and features we're building right now. Only MyLaserTools.com news. No spam, ever.
© 2026 MyLaserTools.com. All rights reserved.