Making a summit keepsake with the Alpine Peak preset
Difficulty: Medium. Time: 2–3 hours. Best methods, in order: 3D printing (clean stepped summit), laser cutting, UV print.
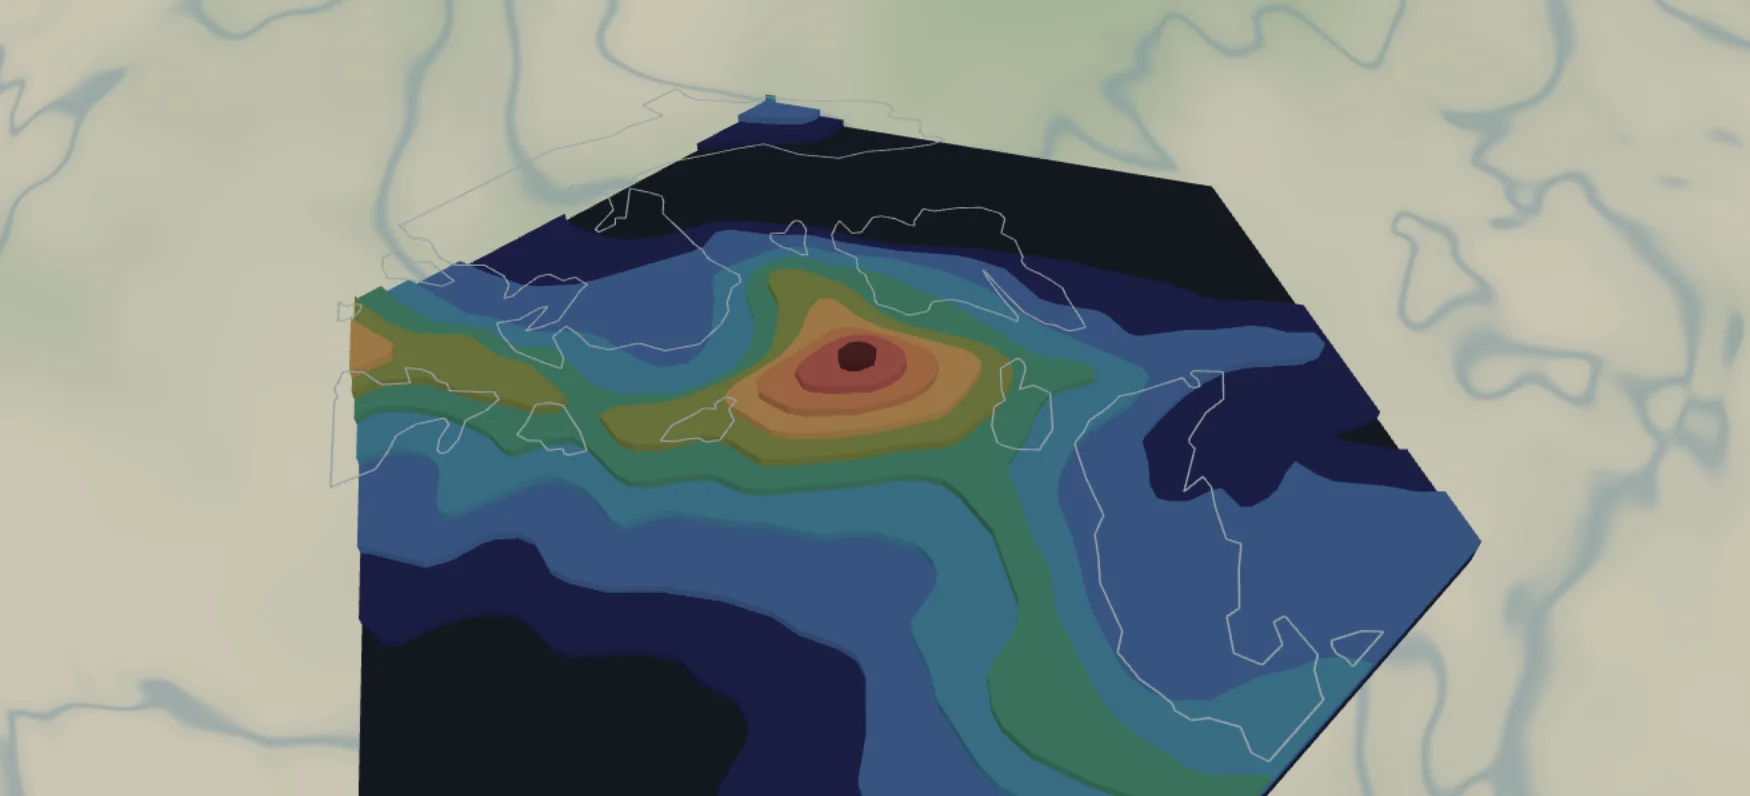
This preset stacks nine summit contours from 2600 m to 4200 m into a hexagon, with glacier outlines traced over the ice fields. It loads on the Matterhorn and is built for big-name peaks - the mountain someone climbed, skied, or proposed on.
What You'll Need
3D printing
- FDM printer; PLA in stone gray or white, or multicolor via 3MF
- 3MF-capable slicer
Laser cutting
- 9 thin sheets (1.5–3 mm laser-grade plywood or chipboard) for the contours + 1 backplate sheet (dark,
#1f2937) - Laser cutter, glue, weights
UV print / sublimation
- High-res PNG, hexagon or square blank
Step 1 - Start from the preset
Open the Alpine Peak preset. It loads centered on the Matterhorn at zoom 12.3 - close enough that one massif fills the hexagon. Search your peak and keep zoom 12–13; center the actual summit, because the hexagon crop is unforgiving at the corners. Critical: the contour layers run 2600–4200 m in 200 m steps, tuned for 4000 m-class alpine peaks. For Rainier, Mont Blanc, or a 14er, shift the band up; for lower summits, shift it down (Step 2) - otherwise most layers render empty.
Step 2 - Tune the layers
Top to bottom:
- Glaciers - Solid mode, the
landcoverIcepolygons rendered as a thin outline (line width 1, ice blue#7FB6C9). On screen it traces the glacier edges elegantly. For fabrication it needs a decision: at width 1 it's too thin to cut or print as a physical ribbon, so either treat it as an engrave/score layer on the laser, bump the width to 3+ if you want a printable ribbon, or hide it for single-color builds. For UV printing leave it exactly as is. - Topography 4200m → 2600m - nine contour plates at 200 m intervals. Delete the ones above your summit, and confirm the lowest one still shows terrain at the hexagon edges.
- Backplate -
#1f2937dark slate hexagon, the valley floor.
Step 3 - Export
- 3D printing: STL (single color, then dry-brush the summit white) or 3MF. Hide the Glaciers layer first unless you raised its width.
- Laser: per-layer SVG ZIP; small-polygon cleanup on - high contours produce gnat-sized islands. Export the Glaciers layer and run it as a score/engrave pass on the top contour plates, not a cut.
- UV print: high-res PNG with everything visible - the glacier linework is the best part of the flat version.
Choose Your Build Method
3D printing
- Hide (or widen) the Glaciers layer, export, and open in your slicer. The nine contours merge into a stepped summit pyramid on the hexagon plate.
- Print flat, no supports; 0.12–0.16 mm layers make the 200 m steps crisp.
- Scale 140 mm+ across flats so upper contours don't shrink to dots; export-time cleanup removes the hopeless slivers.
- Two-tone trick with a single extruder: filament swap to white at the contour that matches the snowline (~3400 m on the Matterhorn).
Make It Yours
- Built for icons: Matterhorn, Mont Blanc (shift band to 3000–4800 m), Rainier (2600–4400 m), Denali, your honeymoon volcano.
- Climber's gift: add a route layer tracing the ascent line over the contours.
- Snowline palette via 3MF: rock
#6B6B6Bbelow, white above, glaciers#A8D8E8. - Engrave the summit name, elevation, and the date of the climb on the backplate's visible margin.
- Hanger hole ring + 100 mm hexagon = summit ornament for the tree.
- Make the seven-summits set - same preset, seven peaks, one wall.
- Swap the backplate to forest green
#1E3B2Efor treeline-and-rock contrast.
New free tools, every month.
New laser cutting tools, what's coming next, and features we're building right now. Only MyLaserTools.com news. No spam, ever.
© 2026 MyLaserTools.com. All rights reserved.