Printing working fasteners with the Machine Screws + Nuts Generator
Difficulty: easy. Time: 5 minutes to design, 15-60 minutes to print. Method: 3D printing only.
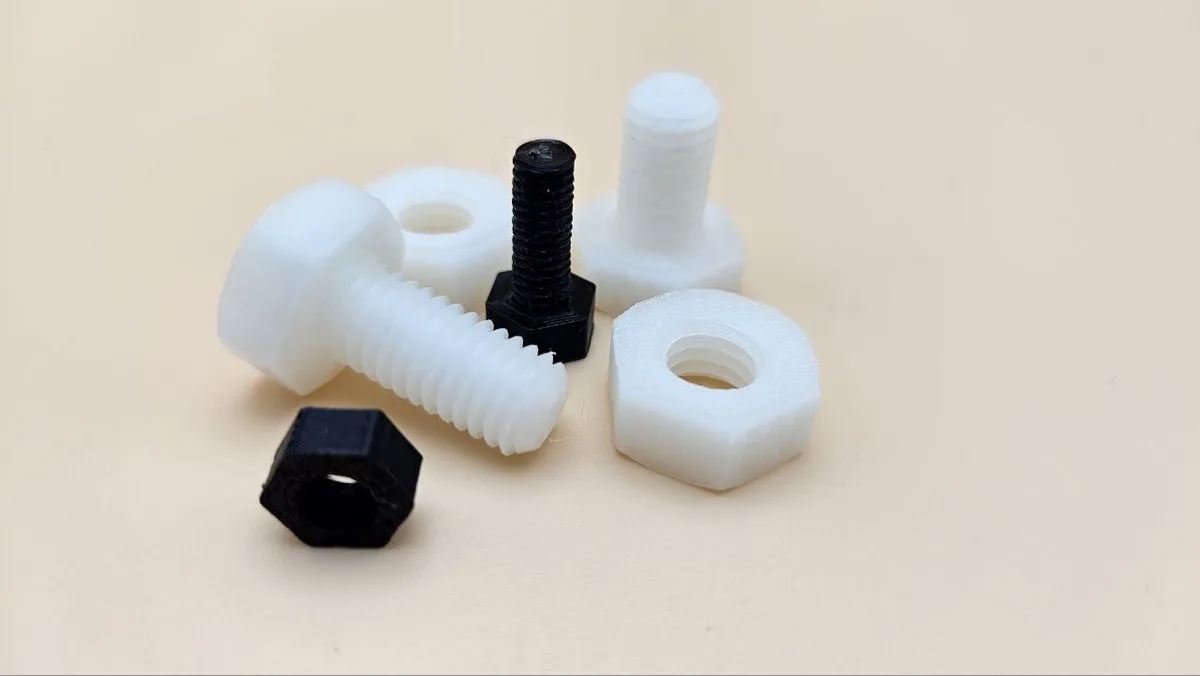
Printed fasteners are more useful than they sound: oversized thumb screws for jigs and camera rigs, nylon-style non-marring bolts for clamping delicate work, giant demonstration hardware for teaching, and knobs that thread onto themselves. This generator produces a screw and matching nut as a set, with thread geometry tuned to actually print, and clearance between the pair handled for you.
Presets follow ISO metric proportions from M2 to M20, setting nominal diameter, pitch, head across-flats, and nut height in one click. Below M5 printed threads get fragile on standard nozzles, so the sweet spot for working hardware is M6 and up.
What You'll Need
- Any FDM 3D printer; a 0.4 mm nozzle resolves M6+ threads cleanly
- PETG for working fasteners (tougher threads), PLA for demos and knobs
- Calipers if you are matching an existing tapped hole or bolt
Step 1 - Pick a preset
Open the tool and select an M Size Preset (M2-M20). The preset fills in the nominal Thread Diameter, thread pitch, Head Width (across flats), Head Height, and Nut Height to ISO-style proportions. Then set the Screw Length for your application.
Step 2 - Tune fit and feel
- Nut Clearance is the gap printed between the screw thread and nut thread. The default scales with diameter and suits a well-tuned printer; if your test nut binds, increase it in 0.05 mm steps.
- Grip Density adds knurl-style grip dots to the head, which makes a big difference on thumb screws you tighten by hand.
- Every dimension stays editable after picking a preset, so you can make a low-profile head, an extra-tall nut for soft materials, or a custom in-between diameter.
Step 3 - Export
Download STL or 3MF. The screw and nut export together, oriented for printing.
Choose Your Build Method
Print threads that work
- Print the screw head-down and the nut flat, exactly as exported; threads print best as vertical helixes.
- Use 0.12-0.16 mm layers for the thread surface; coarse layers turn threads into ratchets.
- 3-4 perimeters and 25 percent infill or more; fastener strength lives in the perimeters.
- Run the nut up and down the screw a few times right off the printer; the first pass burnishes the threads and the fit improves noticeably.
- If the pair binds, reprint the nut with more Nut Clearance rather than sanding; sanded threads wobble.
Make It Yours
- M8 thumb screws with maximum grip density for camera mounts and jig clamps you adjust constantly.
- An M20 screw-and-nut set as a fidget desk toy; the smooth oversized action is weirdly satisfying.
- Non-marring clamping bolts for woodworking jigs where steel would dent the workpiece.
- A giant cutaway M16 set for teaching thread terminology in a shop class.
- Print nuts in several colors as coded thumb nuts for tool-free panel fasteners.
- Pair with the Standoffs / Spacers Generator and Washer Generator for a complete printed hardware kit in one drawer.
- Custom-length M6 bolts for furniture knock-down fittings when the hardware store is closed.
New free tools, every month.
New laser cutting tools, what's coming next, and features we're building right now. Only MyLaserTools.com news. No spam, ever.
© 2026 MyLaserTools.com. All rights reserved.